Desk Cable Management: The Complete Guide to a Clean Workspace
Look at the back of your desk right now. If you are like most people, there is a tangled nest of power cables, USB cables, charging cables, monitor cables, and mystery cables that you are afraid to touch because unplugging the wrong one might take down your entire setup. This cable chaos is not just ugly — it collects dust, makes it harder to add or remove devices, creates tripping hazards, and gives your workspace an aura of disorder that is subtly stressful every time you glance at it.
Good cable management transforms a messy desk into a clean, professional workspace. And the best part? It does not require expensive products or special skills. This guide walks you through every technique and product available, from basic velcro straps to full under-desk tray systems, with a step-by-step approach you can complete in an afternoon.
🏆 Our Top Picks
As an Amazon Associate, we earn from qualifying purchases.
As an Amazon Associate, we earn from qualifying purchases.
Why Cable Management Is Worth Your Time
Beyond the obvious aesthetic improvement, organized cables deliver practical benefits that compound over time:
- Easier maintenance: When cables are organized and labeled, adding or removing a device takes seconds instead of minutes of untangling and tracing
- Better airflow: Cable bundles pressed against the back of your PC or console can block ventilation. Organized routing keeps cables away from heat-sensitive areas
- Reduced dust: Cable nests are dust magnets. Organized cables are dramatically easier to dust and clean around
- Safer workspace: Loose cables on the floor are tripping hazards. Cables hanging off desk edges snag on chairs and pull devices off desks
- Professional appearance: Whether you are on video calls, streaming, or just working, a clean desk looks better and signals competence
- Mental clarity: This one is subjective, but a lot of people find that visual clutter creates mental clutter. A clean desk feels better to work at
The investment is typically under $50 in products and 2 to 4 hours of time. For something you will look at and use every single day, that is an excellent return.
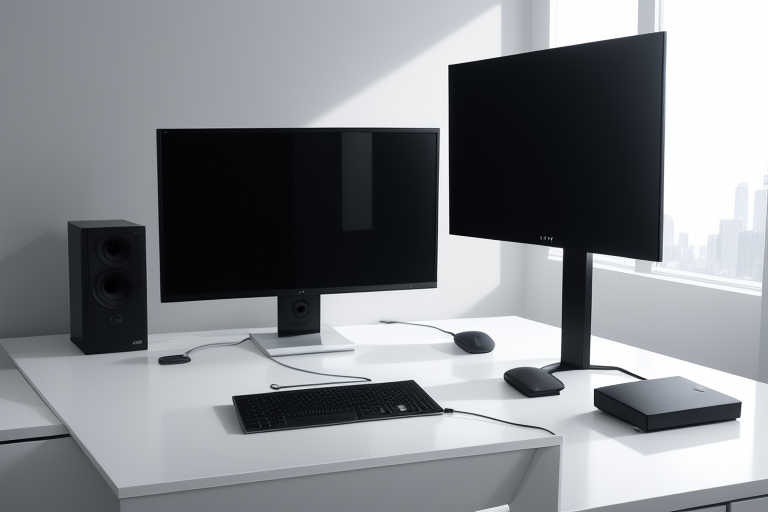
Under-Desk Cable Trays: The Foundation
An under-desk cable tray is the single most impactful cable management purchase you can make. These trays mount to the underside of your desk and hold power strips, excess cable length, adapters, and cable bundles out of sight. When done right, the only visible cables are the short runs from your devices down to the desk edge.
Types of Under-Desk Trays
Wire mesh trays: Open basket-style trays made of metal wire. These are the most popular type because they are easy to install, provide good ventilation for power strips and adapters, and make it easy to add or remove cables without disassembling anything. They typically mount with screws into the underside of the desk. Products from brands like VIVO and Scandinave are reliable options in the $15 to $25 range.
Solid trays with lids: Enclosed plastic or metal trays that completely hide cables. These provide the cleanest look — you literally cannot see anything underneath — but they are harder to work with when you need to change cables. Best for setups that rarely change.
Adhesive-mount trays: Trays that attach with strong adhesive strips instead of screws. These are ideal for renters or people who do not want to drill into their desk. The 3M VHB adhesive used on better products is remarkably strong. Just make sure your desk surface is smooth and clean before applying.
Clamp-mount trays: Trays that clamp to the desk edge, similar to how monitor arms attach. No screws, no adhesive, and fully removable. The trade-off is that they are visible from the front and take up edge space.
Installation Tips
- Mount the tray toward the back edge of the desk, not centered. This keeps cables closest to where they drop down to the floor.
- Position your power strip inside the tray first, then route all cables to it. The power strip is the anchor point of your cable management system.
- Leave some slack in every cable. Taut cables pull on connectors, stress ports, and make it impossible to move devices without disconnecting everything.
- If your desk has a cable pass-through hole or grommet, route cables through it into the tray below.
Cable Clips and Holders: Keeping Cables in Place
Cable clips are small, simple, and solve the annoying problem of cables sliding off your desk every time you unplug them.
Adhesive Cable Clips
Small plastic clips with adhesive backs that stick to the edge or underside of your desk. Each clip holds one or more cables in a channel. These are perfect for cables that need to be frequently plugged and unplugged — like phone chargers, headphone cables, or USB cables. Brands like OHill and Syncwire sell packs of 10 to 20 for under $10.
Magnetic Cable Holders
These use a magnetic base that sticks to your desk and small magnetic tips that attach to your cable ends. When you unplug a cable, the magnetic tip holds it in place on the base instead of letting it fall behind your desk. They look cleaner than clip-style holders and are easier to use one-handed.
Under-Desk Cable Clips
Adhesive or screw-mount clips that attach to the underside of your desk for routing cables along a specific path. Use these to create clean cable runs from your devices to your under-desk tray. They are invisible from above and keep cables from dangling.
Velcro vs. Zip Ties: The Great Debate
Both velcro straps and zip ties bundle cables together, but they are not interchangeable.
Velcro Straps
Reusable, adjustable, and non-damaging. Velcro straps are the right choice for any cable bundle that might need to change. Adding a new device? Unwrap the velcro, add the cable, rewrap. They also cannot over-tighten and damage cables.
Buy a roll of velcro cable ties and cut to length. A 15-foot roll costs about $5 and will handle an entire desk setup with plenty left over.
Zip Ties
Permanent unless you cut them, compact, and stronger. Zip ties are appropriate for cable bundles that will never change — like internal PC wiring, permanent cable runs to wall outlets, or bundling cables inside a cable sleeve.
The downside is real: if you need to change anything, you are cutting the zip tie and replacing it. Over-tightened zip ties can also crush cable insulation and damage wires, especially on thinner cables.
Our recommendation: Use velcro for everything on and under your desk. Reserve zip ties for permanent runs where space is tight and the bundle will never change.
Cable Sleeves and Raceways: Hiding Multiple Cables
When you have multiple cables running the same path, individual cable management gets tedious. Cable sleeves and raceways bundle everything into a single, clean line.
Braided Cable Sleeves
Flexible fabric sleeves that wrap around a cable bundle using a split or zipper opening. They are easy to install, look clean, and allow flexibility in the cable path. Best for cable runs that are not perfectly straight, like the path from a standing desk to a wall outlet where the cable needs to flex. Alex Tech braided cable sleeves are a popular choice at about $10.
Spiral Cable Wrap
A spiral plastic strip that wraps around cable bundles. It is the most flexible option — you can add or remove cables without disassembling anything. It does not look as clean as a braided sleeve, but it is the most practical for bundles that change frequently.
Cable Raceways
Rigid plastic channels that mount to walls or the underside of desks. Cables go inside, the cover snaps on, and the result is a clean line that looks almost architectural. Raceways are ideal for wall-mounted runs — like getting cables from your desk up to a wall-mounted TV or from a floor outlet up to desk height.
They come in various sizes and can be painted to match your wall color. The D-Line brand makes raceways in several profiles and colors. Buy raceways slightly larger than you think you need.
Power Strip Mounting: Getting It Off the Floor
A power strip sitting on the floor under your desk is a dust collector, a trip hazard, and ugly. Mounting it under your desk or to the wall instantly elevates your cable management.
Under-Desk Mounting
Most power strips have mounting keyhole slots on the back. Use screws to mount the power strip directly to the underside of your desk, or place it inside your under-desk cable tray. Mount it with the outlets facing down or sideways so adapter bricks do not fall out.
Velcro Mounting
For renters or those avoiding screws, industrial-strength velcro strips like 3M Dual Lock can hold a power strip to the underside of a desk surprisingly well. Apply strips to both surfaces, press firmly, and wait 24 hours for the adhesive to fully cure.
Wall Mounting
If your desk is against a wall, mounting the power strip to the wall behind the desk keeps it accessible while hiding it from view. This works especially well with standing desks, where the power strip stays stationary while the desk moves.
Wireless Alternatives: Reducing Cables at the Source
The best cable to manage is the one that does not exist. Modern wireless technology has eliminated the need for several common desk cables:
- Wireless keyboard and mouse: Eliminates two cables immediately. Modern wireless peripherals have essentially zero perceptible latency and battery life measured in months.
- Wireless phone charging: A Qi2 charging pad replaces a charging cable. Some desk mats even have wireless chargers built in.
- Bluetooth audio: Wireless headphones or speakers eliminate audio cables.
- Wi-Fi: If your PC is on ethernet for speed, consider whether you actually need it. Modern Wi-Fi 6E and Wi-Fi 7 deliver speeds that most home internet connections cannot saturate.
Each cable you eliminate is one less thing to manage. Before buying cable management products, ask which cables you can simply remove by going wireless.
Standing Desk Cable Management: Special Considerations
Standing desks add a unique challenge: cables need to accommodate 12 to 20 inches of vertical movement. Static cable management does not work here.
Cable Management Chain or Spine
A cable management spine is a series of linked segments that collapse and expand as your desk moves. Cables run inside the spine, which keeps them organized while allowing full range of motion. Mount one end to the underside of your desk and the other to the wall or floor. The VIVO Cable Management Spine is a solid budget option around $15.
Excess Cable Loops
An alternative to a spine: leave enough slack in cables to accommodate the full range of desk motion, then use velcro ties to bundle the excess into a neat loop under the desk. When the desk goes up, the loop unfolds. When it goes down, it bunches back up. Simpler and cheaper than a spine, though less tidy.
Power Strip Placement
With a standing desk, mount your power strip to the underside of the desk so it moves with the desk. The only cables that need to flex are the power strip cord and any data cables going to stationary devices. Everything plugged into the desk-mounted power strip stays a fixed distance from the desk surface.
Key Principle
Any cable connecting a desk-mounted device to a non-desk-mounted thing needs enough slack for the full range of motion. Any cable connecting two desk-mounted devices can be managed with standard static cable management because both ends move together.
Step-by-Step Approach: Your Cable Management Project
Step 1: Unplug Everything
Seriously, everything. Take a photo of your current setup first so you remember what goes where. Then unplug every cable, remove all devices from your desk, and start with a completely clean surface. Trying to organize cables while everything is still connected is an exercise in frustration.
Step 2: Plan Your Cable Paths
Before plugging anything back in, decide where cables will run. Generally, you want all cables to converge to a single point — your under-desk tray or power strip location — and take the shortest, most hidden path to get there.
Step 3: Install Your Infrastructure
Mount your under-desk tray, cable clips, and power strip before reconnecting any devices. It is much easier to install these on an empty desk. Mount the power strip in the tray or directly under the desk. Position cable clips along the planned cable paths.
Step 4: Place Devices and Route Cables One at a Time
Put your first device on the desk, typically your monitor, plug in its cables, and route them through your management system. Then do the next device. Going one at a time prevents cable spaghetti and keeps everything neat from the start.
Step 5: Bundle and Secure
Once all devices are connected and cables are routed, use velcro straps to bundle cables that run the same path. Attach bundles to under-desk clips. Tuck excess cable length into your under-desk tray.
Step 6: Manage the Floor Run
The cable run from your desk to the wall outlet is usually the most visible remaining cable. Use a cable sleeve, raceway, or route it along the baseboard. If your desk is against the wall, cables can drop straight down behind the desk and are naturally hidden.
Step 7: Label Critical Cables
Optional but incredibly useful for setups with many cables. Small cable labels or colored velcro ties let you identify cables without tracing them. The next time you need to unplug your monitor, you will know exactly which cable it is.
Product Recommendations Summary
| Product | Purpose | Price Range | Notes |
|---|---|---|---|
| VIVO Under-Desk Cable Tray | Main cable storage | $13-$18 | Wire mesh, screw-mount, reliable |
| Scandinave Cable Management Tray | Premium cable storage | $22-$28 | Wider basket, better capacity |
| OHill Cable Clips (30-pack) | Desk-edge cable holders | $7-$9 | Adhesive, multiple sizes included |
| Anker Magnetic Cable Holder | Premium cable holder | $16-$20 | Magnetic tips, cleaner look |
| VELCRO Brand ONE-WRAP Ties | Cable bundling | $5-$8 | Reusable, buy the 25-pack roll |
| Alex Tech Braided Cable Sleeve | Cable run concealment | $8-$12 | Split design, easy to install |
| D-Line Cable Raceway Kit | Wall cable concealment | $12-$18 | Paintable, multiple profiles |
| VIVO Cable Management Spine | Standing desk cable flex | $13-$16 | Essential for sit-stand desks |
| 3M Dual Lock Strips | Adhesive mounting | $10-$15 | Stronger than velcro, holds power strips |
Common Mistakes to Avoid
- Over-tightening zip ties: Tight zip ties on thin cables can damage insulation and wires. Use velcro for delicate cables and leave zip ties slightly loose.
- Not leaving slack: Cables pulled taut stress connectors, damage ports, and prevent you from moving devices. Always leave 4 to 6 inches of slack at each connection point.
- Cable-managing before planning: If you start tying things up without a plan, you will redo it multiple times. Take 15 minutes to plan first.
- Ignoring the power strip: The power strip is the nerve center. If it is poorly positioned, nothing else will be clean. Get the power strip placement right first.
- Buying too many products: Start with a cable tray, velcro ties, and adhesive clips. Most desk setups need fewer than $30 in cable management products.
- Permanent solutions for temporary setups: If you rearrange frequently, use adhesive and velcro instead of screw-mounting everything.
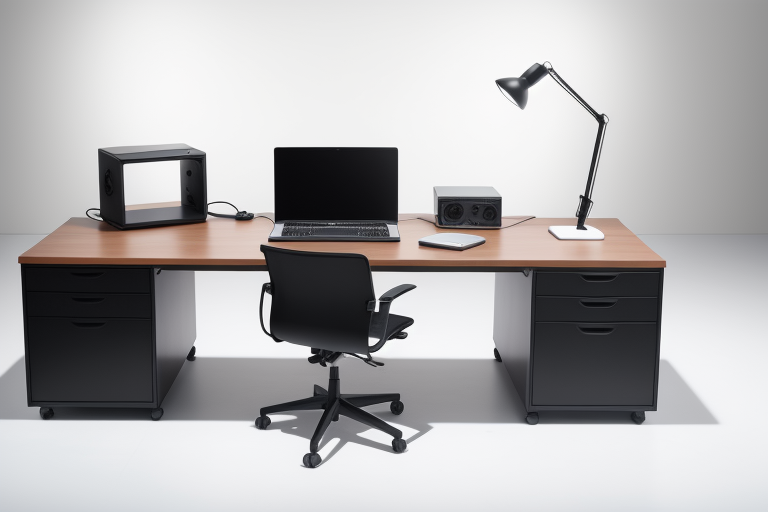
Before and After: What to Expect
A well-executed cable management project transforms the look and feel of your workspace:
Before: Cables draped over the back of the desk, tangled behind the monitor, power strip on the floor collecting dust, charging cables falling behind the desk every time you unplug your phone, visible cable mess on video calls.
After: Clean desk surface with minimal visible cables. Short cable runs from devices to the desk edge, where they disappear into an under-desk tray. Power strip mounted out of sight. Charging cables held in place by clips or magnetic holders. A single, sleeved cable run from desk to wall. Clean background on video calls.
The difference is dramatic, and once you experience a clean desk, you will never go back to cable chaos.
Final Thoughts
Cable management is not about achieving Instagram-level perfection. It is about creating a workspace that is functional, clean, and does not annoy you every time you look at it. You do not need to spend hundreds of dollars or hire a professional. A $15 under-desk tray, a $5 roll of velcro ties, and an $8 pack of adhesive clips will transform most desk setups.
Start with the step-by-step approach above, focus on progress over perfection, and remember the golden rule: the best cable management is the cable that does not exist. Go wireless where you can, manage what remains, and enjoy your cleaner workspace.